You can set a schedule to send a data request at specific intervals to your customers or clients.
Its easy to do! Just go to the Scheduler tab on the left hand side. (If you do not see this option please contact the Admin for your account).
Click New Scheduler.

Now you will see a template to create your new scheduler.
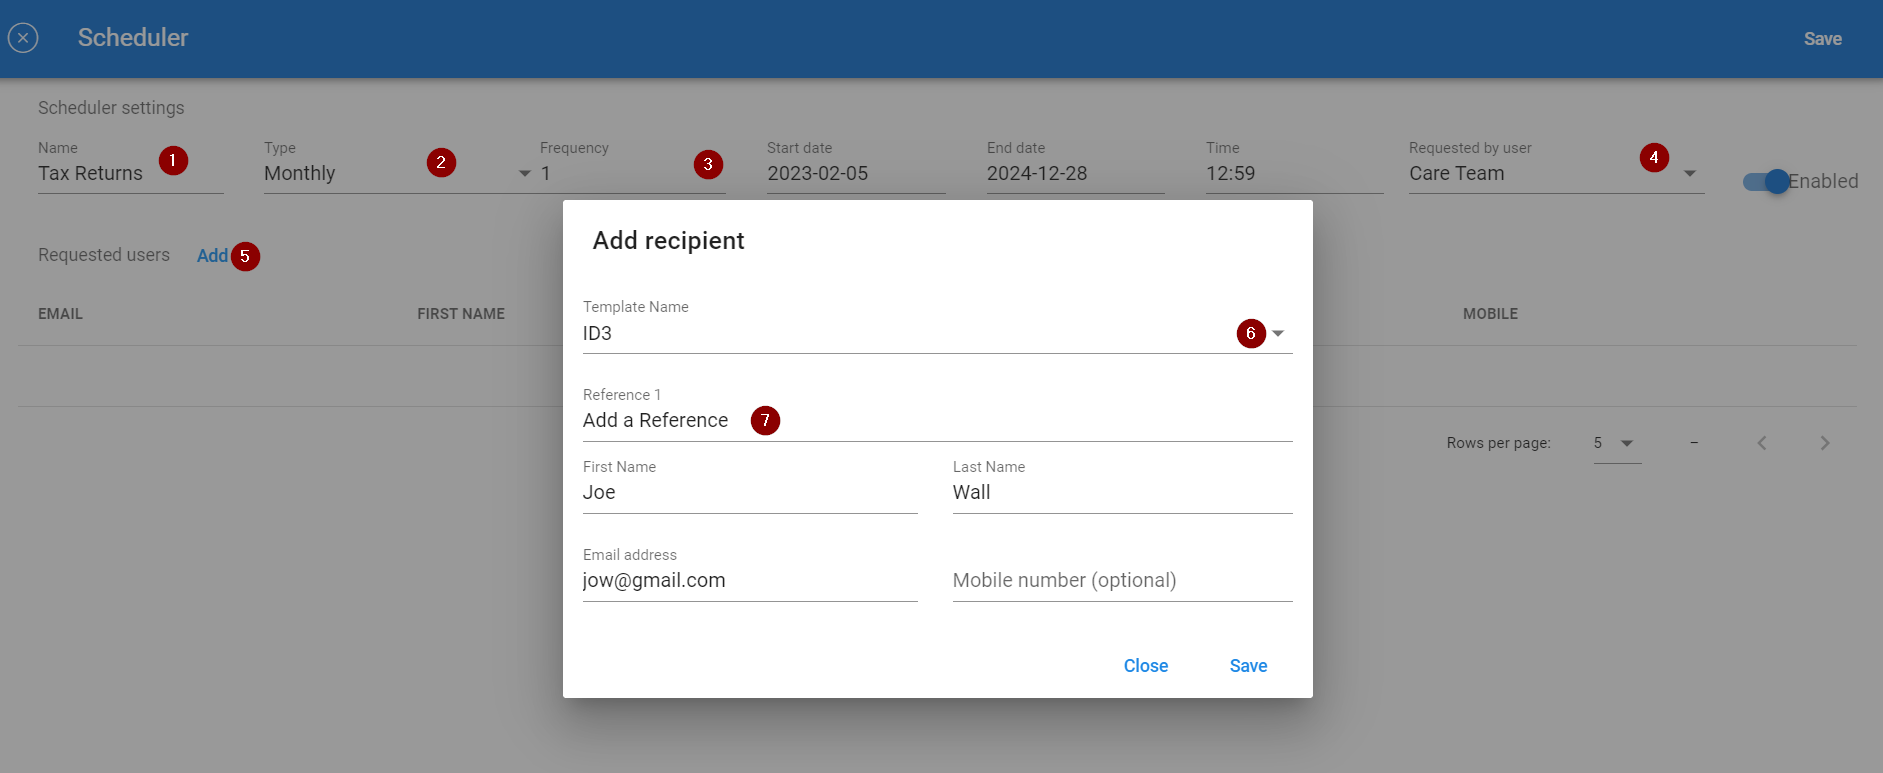
1- Enter a name that makes sense to you for this scheduler, i.e. this is to request every clients tax returns every month. This will help you to understand the purpose of each scheduler on your dashboard if you create more than one.
2- Choose Daily, Monthly or Yearly requests.
3- Choose Frequency of requests- for example if you have chosen Monthly and then choose 2 for frequency, it will send a request every 2 months etc.
4- Enter the date and time of day (GMT) when you wish to start sending requests and enter a final date and then choose the dashboard user to be shown as the requester. Note if you choose to send a request starting on Monday 20 March at 12.00 for example, and the frequency is once a month, the next request will go on 20 April at 12.00.
5- Now add the email of the recipient. In the pop up screen you will select the appropriate template to be used, include a reference, the name of the person if known and their email (required).
You can continue to add more recipients if you need to.
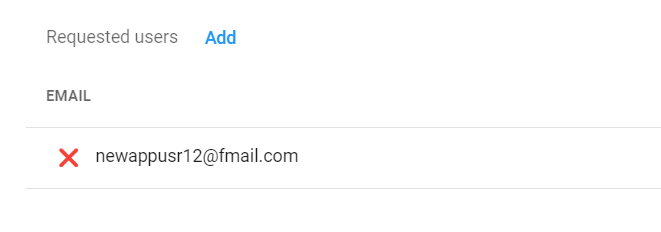
You can also remove any recipients by clicking on the red X beside their email address.
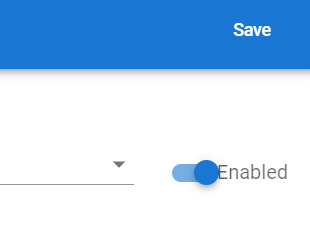
6- Click Save to enable the Scheduler.
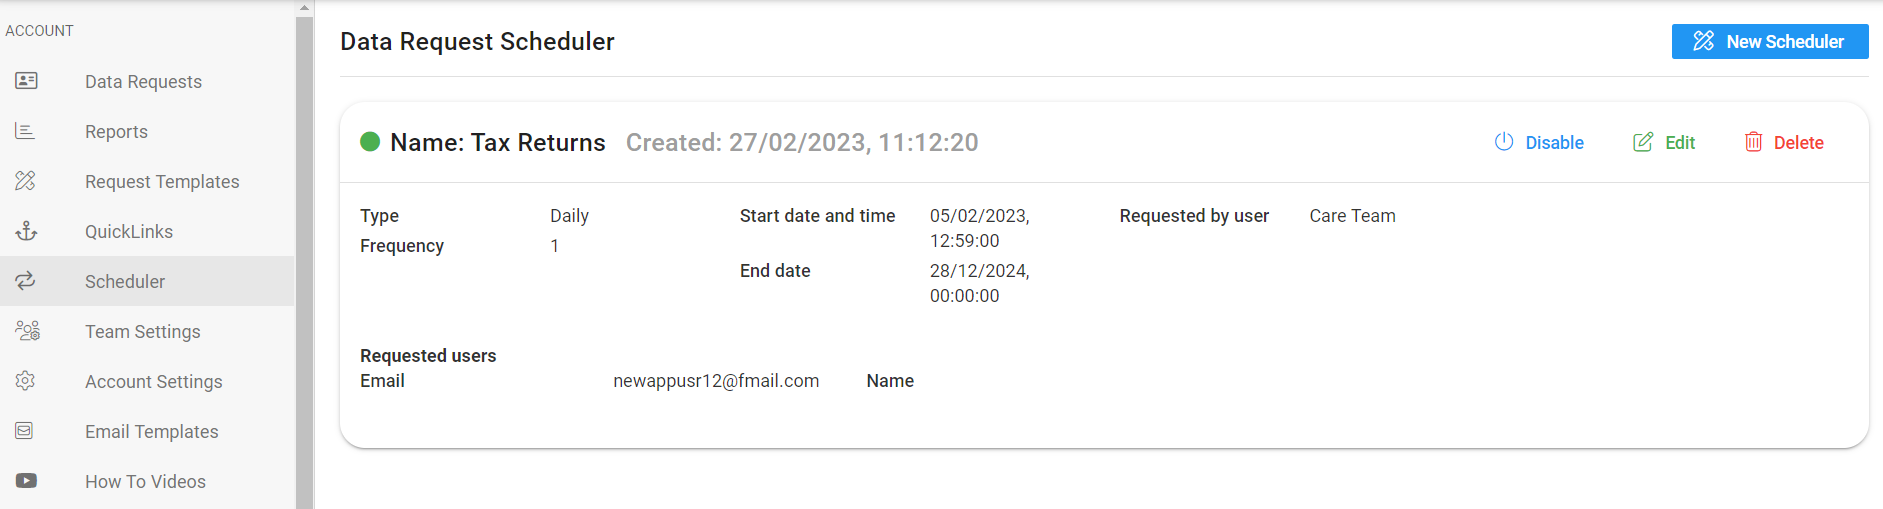
You can view all schedulers and disable, edit or delete any as necessary.
If you have any questions please let us know at support@planetverify.com and we can help you set this up.