You can reject any submitted item or document as follows:
Select the document you wish to reject
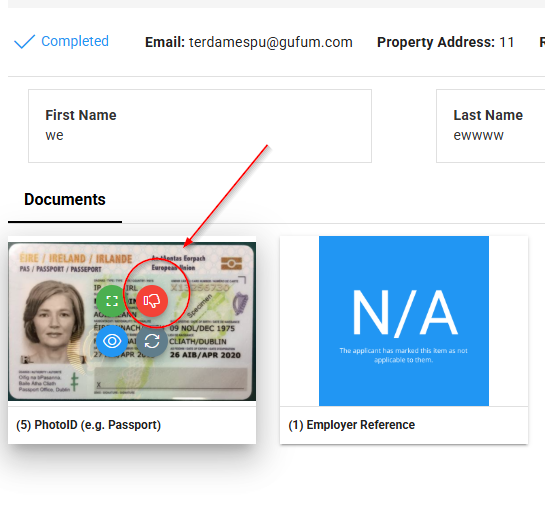
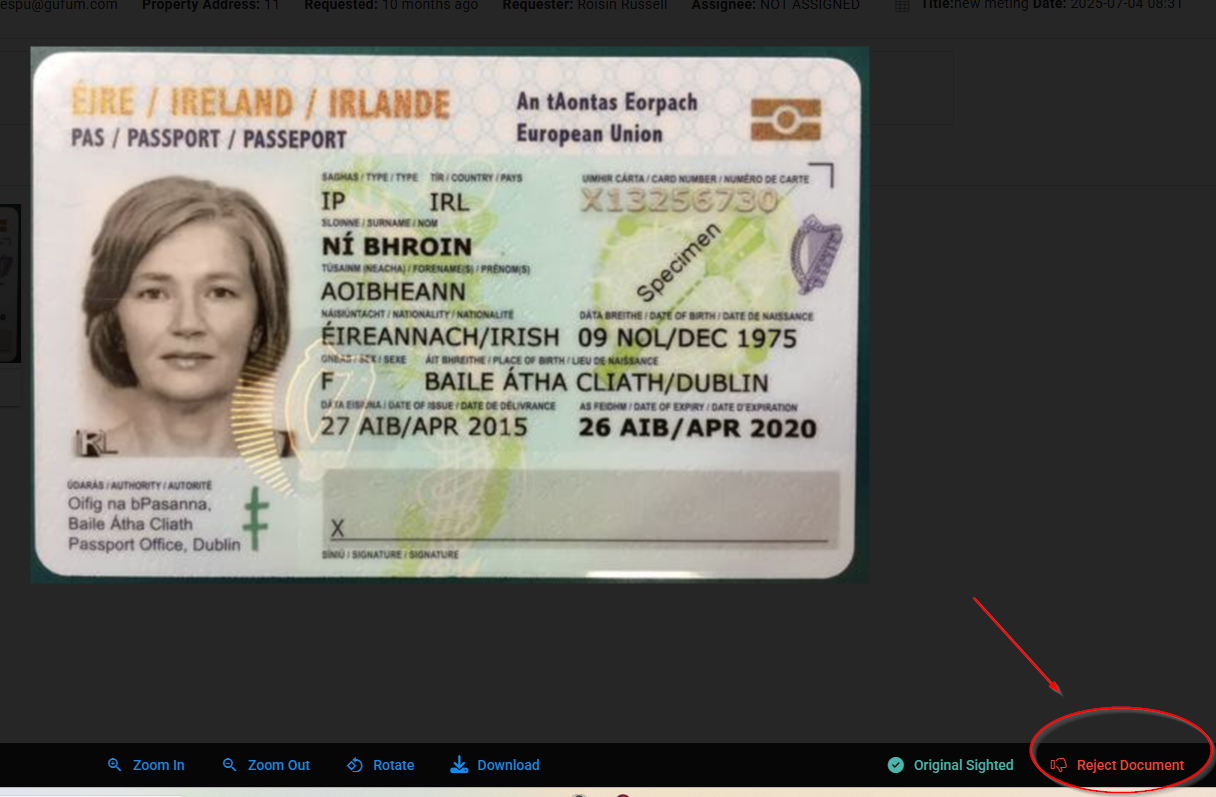
Use the red thumbs down icon to reject the document or else if you have opened the document to view it choose the reject document option, either works the same.
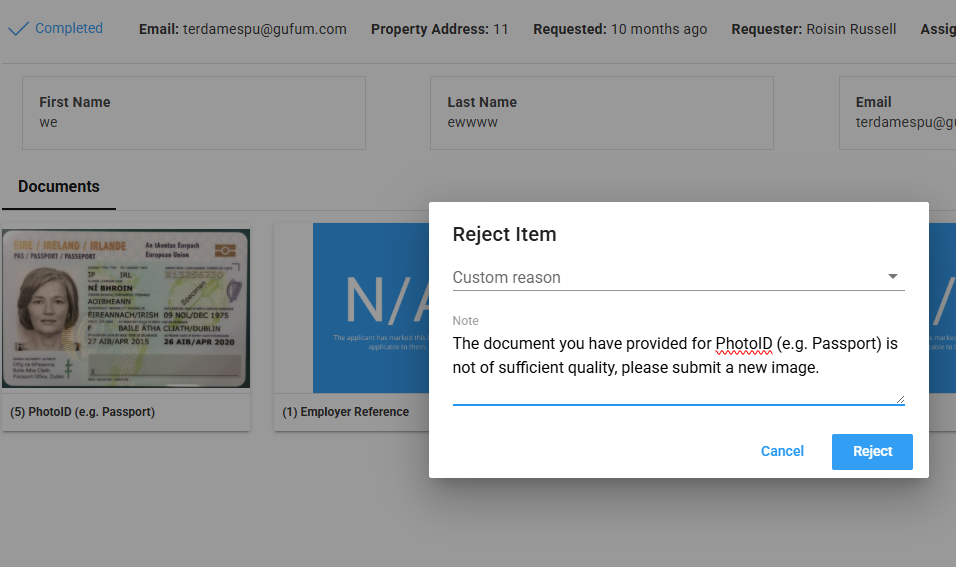
You can enter a custom reason if these are already set up on your account, if not just ignore this. Note: if you would like some standard reasons to be added contact support@planetverify.com
The note section has a default message as to why the document is being rejected. You can alter this to say whatever reason you wish the applicant to see as this note is added to the email.
Click in the Note area to edit or add to the note.
Cleck Reject
The applicant will now receive an automatic email informing them that the item is rejected and the reason provided in the note will be included in the email. They will get a link to go back to the webapp and add another document. They will also see in the webapp a notification that an item is rejected.
Once applicant has uploaded a new item, you will get an email confirming the profile is complet.
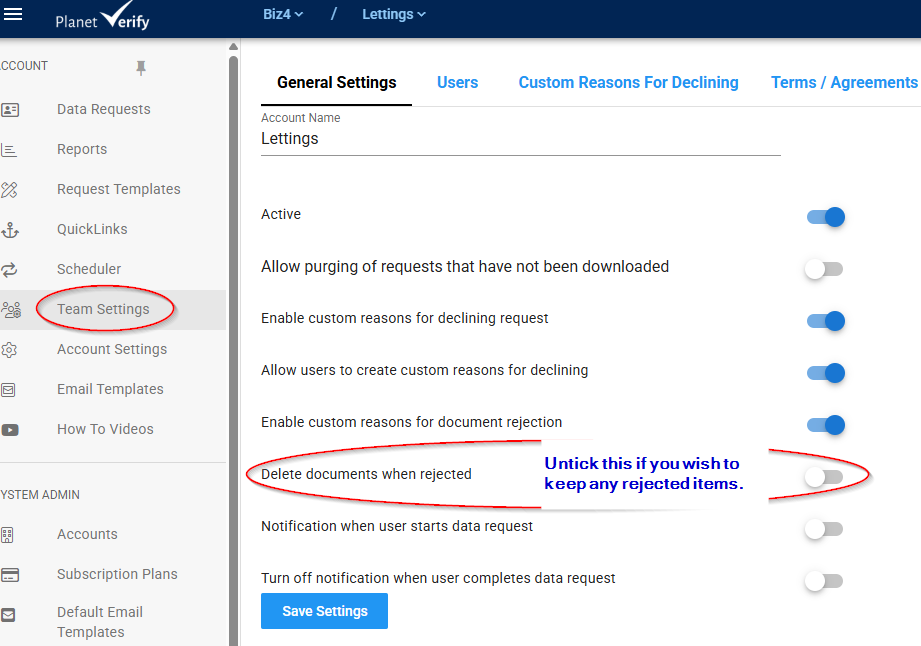
Rejected items are deleted from your dashboard. However, if you wish any rejected documents to be still visible on the profile on your dashboard, you can change this in the Team Settings menu.