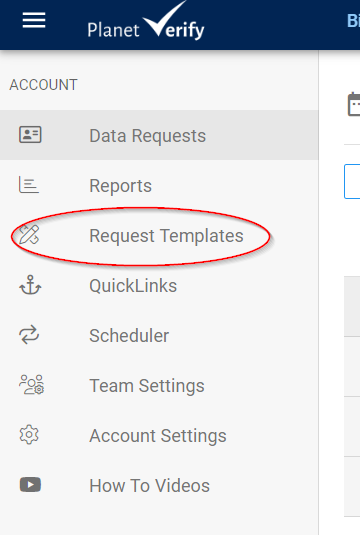
Click Request Templates to see your existing templates
Click New Template to create a new template or Copy to update an existing one.
Enter details in the pop-up dialog box. Enter a template name and the number of reminders to be sent for this template, as well as the time interval between reminders.
Template options are as follows:
Notify User outcome (user gets an email saying the request is approved or declined)
Notify user/dash user on purge
Number of required references (if you need to set more reference fields on the template)
Approved Outcome- This is what happens when a request is Close-Approved. If set to Archive the request stays on the PV system and is never purged. If set to Purge, a schedule can be set for this action. The request will go into a Purge status for the set period in this case before it is finally purged completely.
Declined Outcome - This is what happens when a request is Close-Declined. If set to Purge the request is purged from the system after 24 hours. If set to Archive the profile is kept on the system.
Notify user of outcome- If ticked this will automatically send the customer an email telling them the request was Approved or Declined. It does not tell them about their data being purged. If you choose to select this, you should contact support@planetverify.com to discuss the wording for this email.
Notify requester, Notify user of Purge- If selected, the dashboard user and the end user (customer) will receive a notification that their data has been deleted once it is actually purged from the system.
Alias - You can also set an alias on your profile template settings so that all requests sent by dashboard users will show this name (rather than the organization name) on the web app. Note: If you would like to remove dashboard usernames from standard invite emails you may need to contact support@planetverify.com directly.
Next Steps- What data do you need to collect?
Choose the Basic Details required for the template using the drop-down menu. Note: By default, all information is not required. You need to select what you want to include. You can add a custom item here as for any profile template. You can also choose ‘Don’t archive on close’ option if you want to ensure this data item is never saved once the request is closed. You can also select Mandatory which means the app user must supply this item.
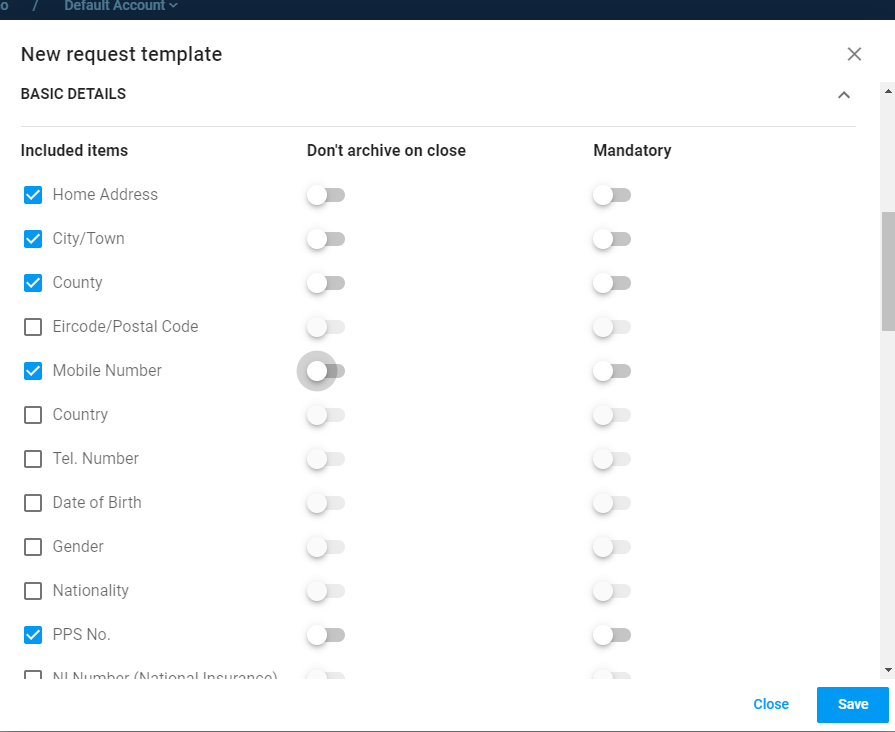
In this screenshot, Basic details: BIC, IBAN, Date of Birth and PPS number will be requested. Once the request is Closed and Approved, the request will be archived but only the BIC, IBAN, Date of Birth will be retained by the system, the PPS will be purged immediately and will not be retrievable.
If the request is Closed and Declined, all items will be purged after 24 hours.
You can add a custom item if you don’t see what you need on the list.
You can also choose the required Documents. Note: By default, all information is not required. You need to select what you want to include.
Or if you have selected to Archive the request, you can choose Selected Items to never keep.
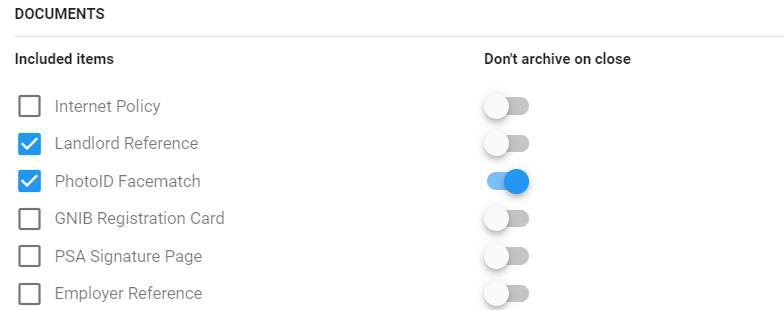
In this example, if the request is archived, the PhotoID Facematch will never be retained.
You can add a custom item if you don’t see what you need on the list.
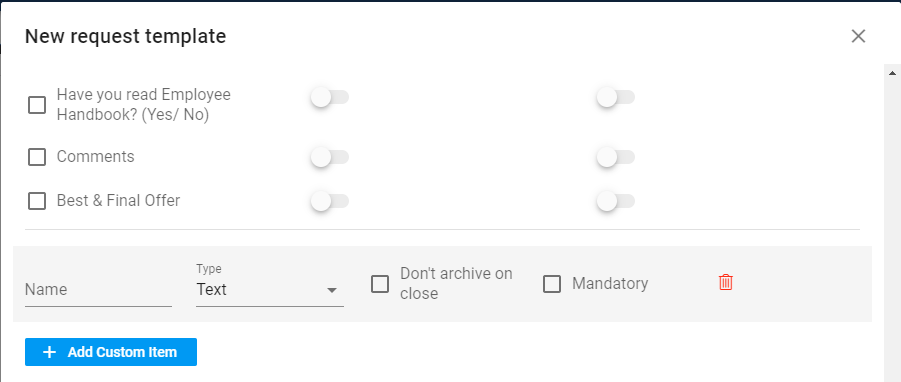
Also add custom form or you can select the existing medical questionnaire.
You can add a link such as a payment link to the request see more info here
You can also select a custom email template to be used whenever you send a request using this profile template. Contact support@planetverify.com for more assistance in setting up standard and custom email templates for your account.
When the template is complete, click Save
You can view the template details in the window and delete it if necessary. You can also edit the template settings using Options but you cannot edit the items to be included (basic Details, Documents or Forms) once the template is saved. You can, however, copy the template and edit the new one.